Battle City in Unity Part 7: Creating Projectiles
This article is Part 7 in a 25-Part Series.
- Introduction - Battle City in Unity Prequel
- Part 1 - Battle City in Unity Part l: Single(ton) Sole Survivor
- Part 2 - Battle City in Unity Part 2: Level Creation using Tilemaps
- Part 3 - Battle City in Unity Part 3: Creation of the Protagonist and Antagonists(Tanks)
- Part 4 - Battle City in Unity Part 4: Tank Movement
- Part 5 - Battle City in Unity Part 5: Player Controller
- Part 6 - Battle City in Unity Part 6: Enemy AI
- Part 7 - This Article
- Part 8 - Battle City in Unity Part 8: Hurting the tanks
- Part 9 - Battle City in Unity Part 9: Firing the shots
- Part 10 - Battle City in Unity Part 10: The Spawn
- Part 11 - Battle City in Unity Part 11 : The Gamemaker - Starting the Stage and Game Over
- Part 12 - Battle City in Unity Part 12 : Level Manager
- Part 13 - Battle City in Unity Part 13 : The Gamemaker - Spawning
- Part 14 - Battle City in Unity Part 14 : The Gamemaker - Stage Cleared or Game Over
- Part 15 - Battle City in Unity Part 15 : Spawning Invincibility
- Part 16 - Battle City in Unity Part 16 : Exploding Tank animation
- Part 17 - Battle City in Unity Part 17 : Score Calculation
- Part 18 - Battle City in Unity Part 18 : Battle Status Board
- Part 19 - Battle City in Unity Part 19 : Bonus Crates - Generation
- Part 20 - Battle City in Unity Part 20 : Bonus Crates - Tank Extra Live
- Part 21 - Battle City in Unity Part 21 : Bonus Crates - Tank Invincibility
- Part 22 - Battle City in Unity Part 22 : Bonus Crates - Grenade
- Part 23 - Battle City in Unity Part 23 : Bonus Crates - Stopwatch
- Part 24 - Battle City in Unity Part 24 : Bonus Crates - Level Up
- Part 25 - Battle City in Unity Part 25 : Bonus Crates - Shovel
Why are you shooting at me!!!
Now we have heroes and villains ready, but all they are doing now is just walking around seeing and knocking into each other. Like all Hollywood plots, the villains should attack the hero, and the hero should defend against the villains to get to an ending. So let’s give them the means to damage the other party. Let’s create the canonballs for the tanks to fire at each other!
Create an empty Game Object rename it
Add a
Progamming the Canonball: Getting it moving
Add a script to the CanonBall Game Object calling it
From watching gameplay of Battle City, there are varying speeds of the canonballs so let’s add a
public int speed = 1;
Rigidbody2D rb2d;
void Start () {
    rb2d = GetComponent<Rigidbody2D>();
    rb2d.velocity = transform.up * speed;
}
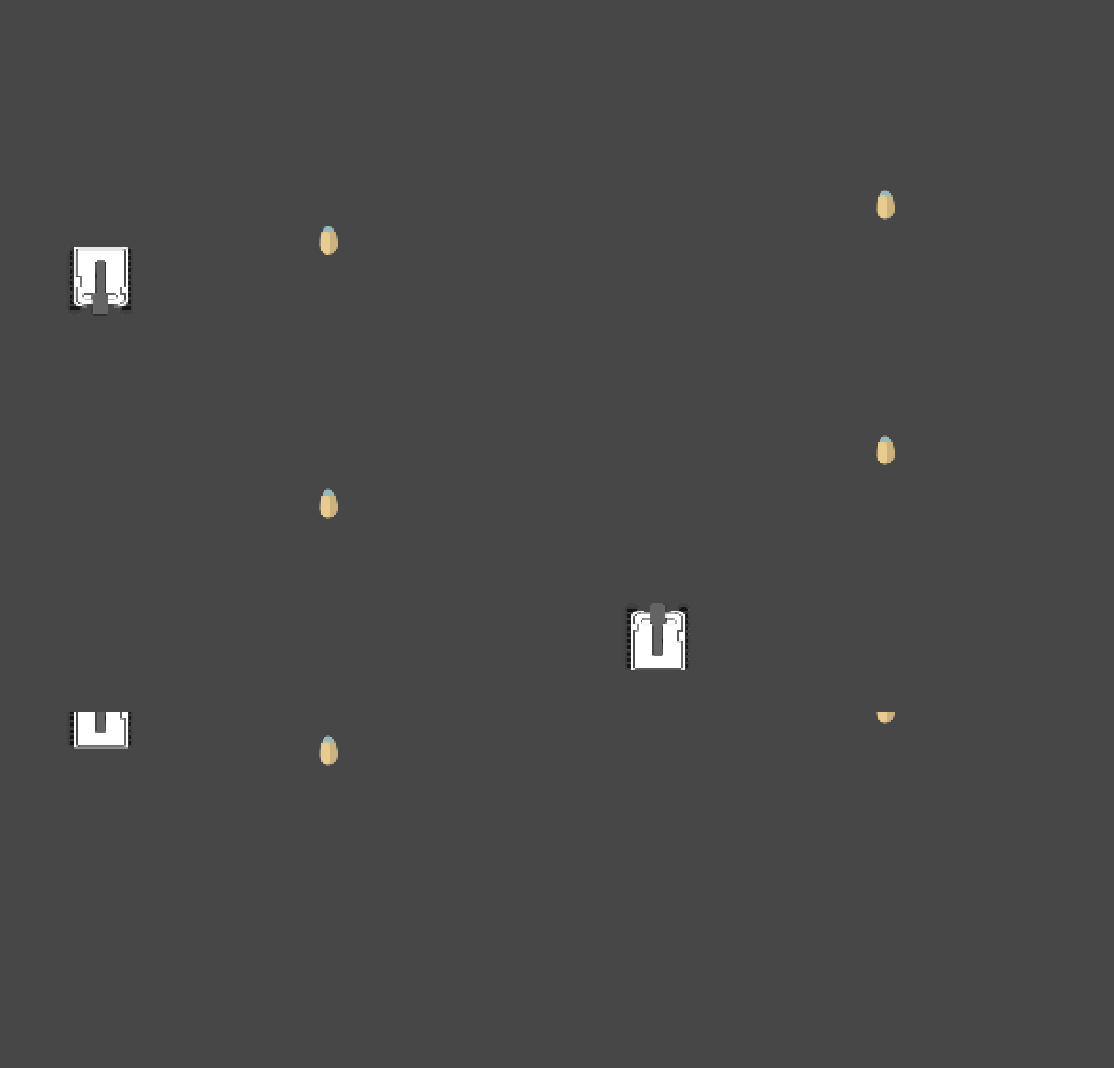
Now try to play the Game. You will see your flying Canonball(Anti-Climax! It’s slow to the point that the tank is outrunning it!). So adjust the speed to your preference.
Progamming the Canonball: Destroy a brick
Some items can get destroyed by the canonball. They are Tanks, Bricks, and Steel(on a more powerful tank). Let’s start with the bricks. If you had followed religiously what I have done, all your bricks would be sitting on the
Declare a GameObject Variable called
GameObject brickGameObject; //added code for Destroy a brick

public int speed = 1;
Rigidbody2D rb2d;
 void Start()
{
    rb2d = GetComponent<Rigidbody2D>();
    rb2d.velocity = transform.up * speed;
    brickGameObject = GameObject.FindGameObjectWithTag("Brick"); //added code for Destroy a brick
}
Add Monobehaviour’s
private void OnCollisionEnter2D(Collision2D collision)
{
	rb2d.velocity = Vector2.zero; //stopping the CanonBall upon impact
    if (collision.gameObject == brickGameObject) {
        //the action taken if the collided object is a brick
    }
}
Now with the means to detect if it is a brick, let’s add the code for destroying the brick. Add in the UnityEngine.Tilemaps library. We need to declare a tilemap variable to store the tilemap component of the collision Game Object before using it as a reference to destroying the tile on the collision position on the tilemap.
using UnityEngine.Tilemaps;
public class Projectile : MonoBehaviour {
Tilemap tilemap; // added code for tilemap variable
//earlier code are omitted for focus
private void OnCollisionEnter2D(Collision2D collision)
{
	rb2d.velocity = Vector2.zero;
    tilemap = collision.gameObject.GetComponent<Tilemap>();// added code for tilemap variable
    if (collision.gameObject == brickGameObject) {
        //the action taken if the collided object is a brick
    }
}
The code snippet for destroying the brick on a tilemap is from Unity’s 2D Tech Demo. In summary, it is to use the contact information gathered from Collision2D to find the exact position of the contact and set the tile at that position to null(which means remove the tile and its collider at that position).
Vector3 hitPosition = Vector3.zero;
foreach (ContactPoint2D hit in collision.contacts)
{
    hitPosition.x = hit.point.x - 0.01f * hit.normal.x;
    hitPosition.y = hit.point.y - 0.01f * hit.normal.y;
    tilemap.SetTile(tilemap.WorldToCell(hitPosition), null);
}
Gathering all the parts together, the code will be as below
private void OnCollisionEnter2D(Collision2D collision)
{
	rb2d.velocity = Vector2.zero;
    tilemap = collision.gameObject.GetComponent<Tilemap>();
    if (collision.gameObject == brickGameObject)
    {
        Vector3 hitPosition = Vector3.zero;
        foreach (ContactPoint2D hit in collision.contacts)
        {
            hitPosition.x = hit.point.x - 0.01f * hit.normal.x;
            hitPosition.y = hit.point.y - 0.01f * hit.normal.y;
            tilemap.SetTile(tilemap.WorldToCell(hitPosition), null);
        }
    }
}
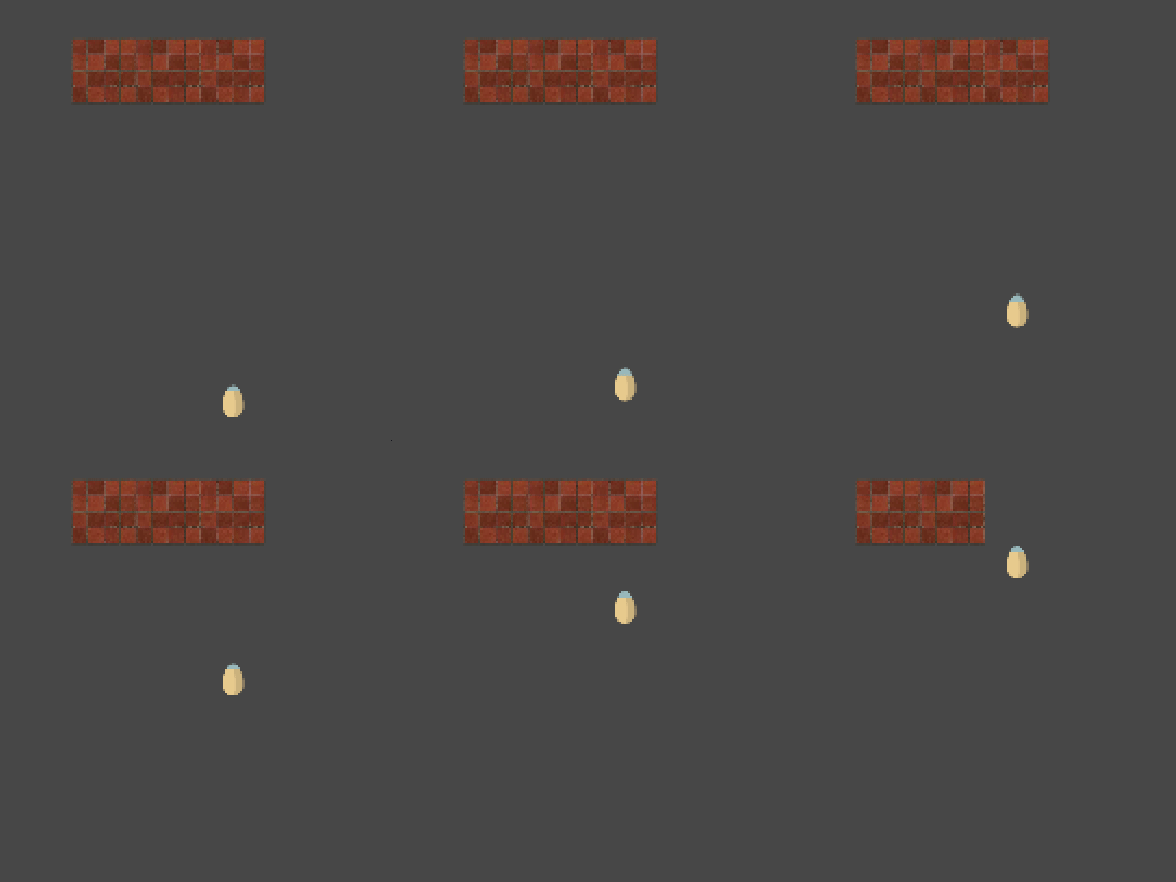
Let’s try to place some brick in front of the CanonBall to see it get obliterated!
Progamming the Canonball: Destroy a steel wall
The code to destroy the steel wall is the same as the ones for brick. We just need to change the reference to the
GameObject brickGameObject, steelGameObject; //added code for Destroy a steel wall
public int speed = 1;
Rigidbody2D rb2d;
 void Start()
{
    rb2d = GetComponent<Rigidbody2D>();
    rb2d.velocity = transform.up * speed;
    brickGameObject = GameObject.FindGameObjectWithTag("Brick");
    steelGameObject = GameObject.FindGameObjectWithTag("Steel");
}
The ability of a CanonBall to destroy a Steel Wall depends upon its tank obtaining certain powerups. So we will need a way to determine if the tank has already gained the ability for its CanonBall to destroy a Steel Wall. What I will do is to declare a Public bool variable as a flag to determine if the CanonBall can annihilate the Steel Wall. I will call this
public bool destroySteel=false;

private void OnCollisionEnter2D(Collision2D collision)
    {
    	rb2d.velocity = Vector2.zero;
        tilemap = collision.gameObject.GetComponent<Tilemap>();
        if ((collision.gameObject == brickGameObject) || (destroySteel && collision.gameObject == steelGameObject))
        {
            Vector3 hitPosition = Vector3.zero;
            foreach (ContactPoint2D hit in collision.contacts)
            {
                hitPosition.x = hit.point.x - 0.01f * hit.normal.x;
                hitPosition.y = hit.point.y - 0.01f * hit.normal.y;
                tilemap.SetTile(tilemap.WorldToCell(hitPosition), null);
            }
        }
    }
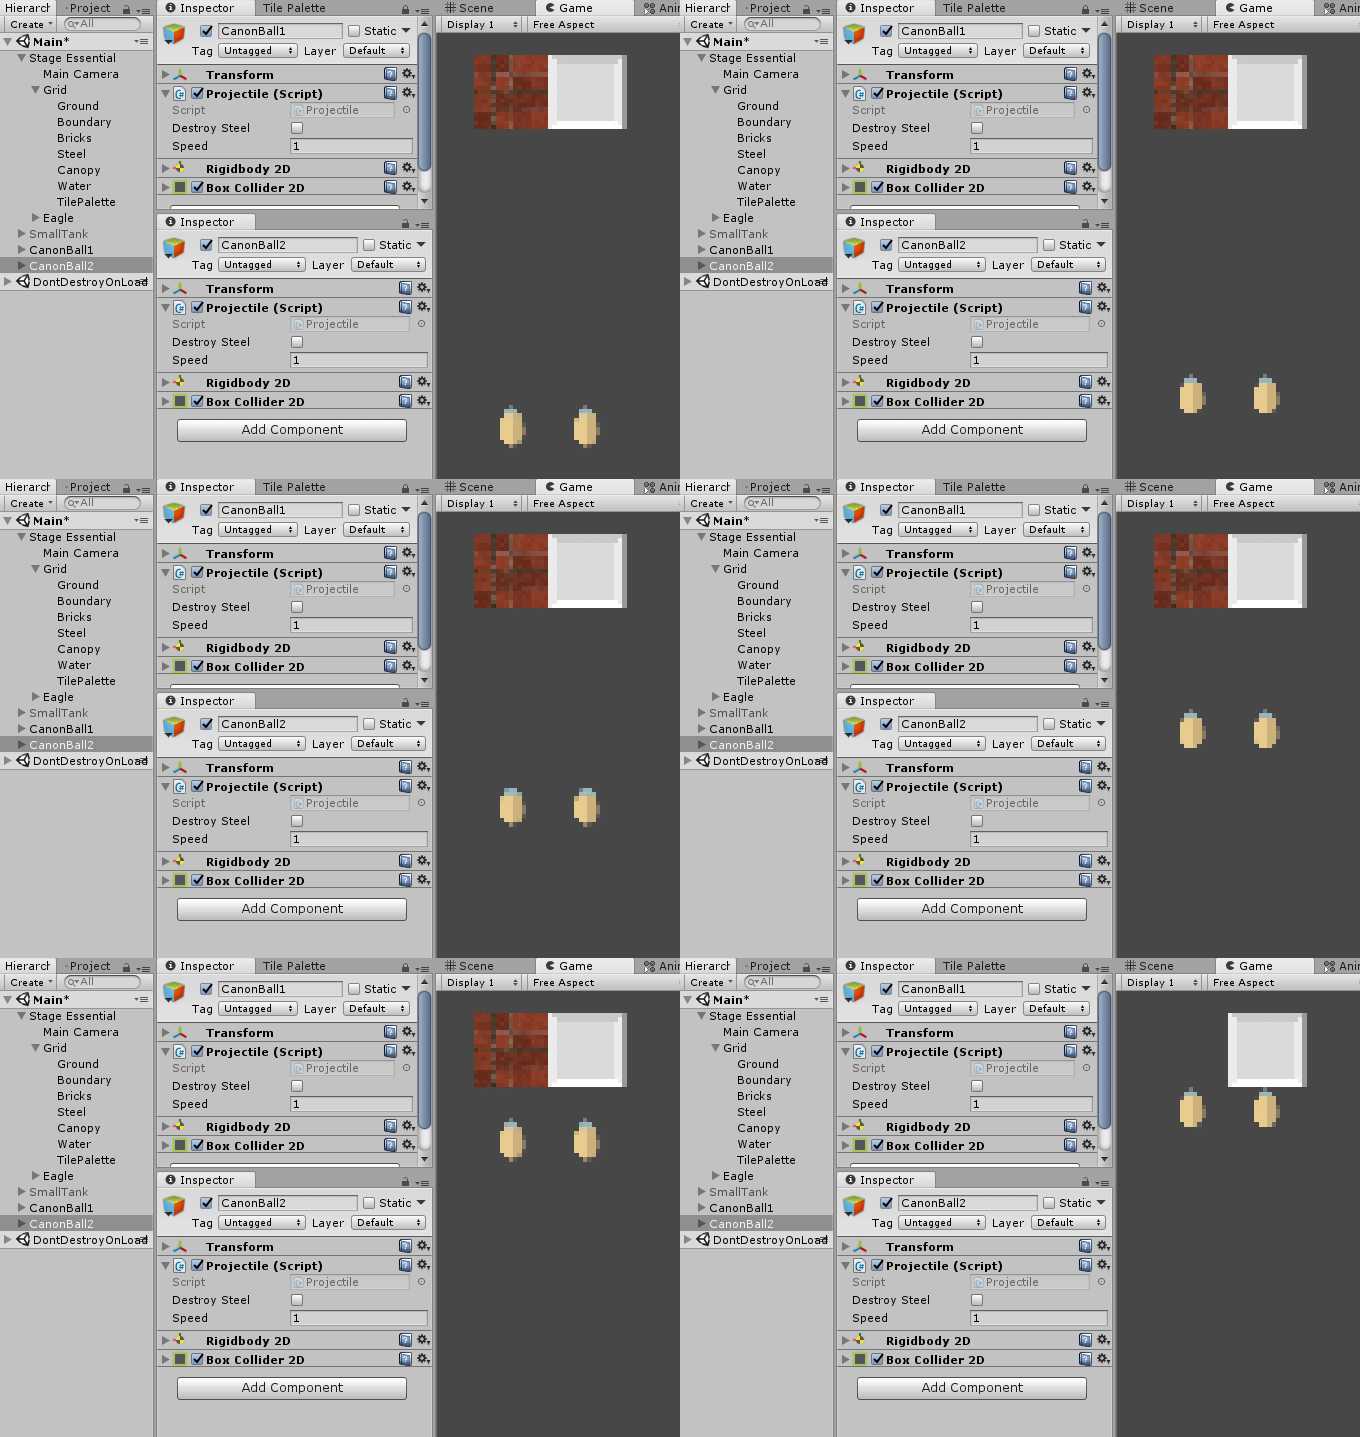
Let’s try to place a brick and a steel wall in front of the two CanonBall. This time the destroySteel is set to false. I will make the CanonBalls hit the brick and the steel wall. You will see that the brick will be gone, but the steel wall is still standing, laughing back at you.
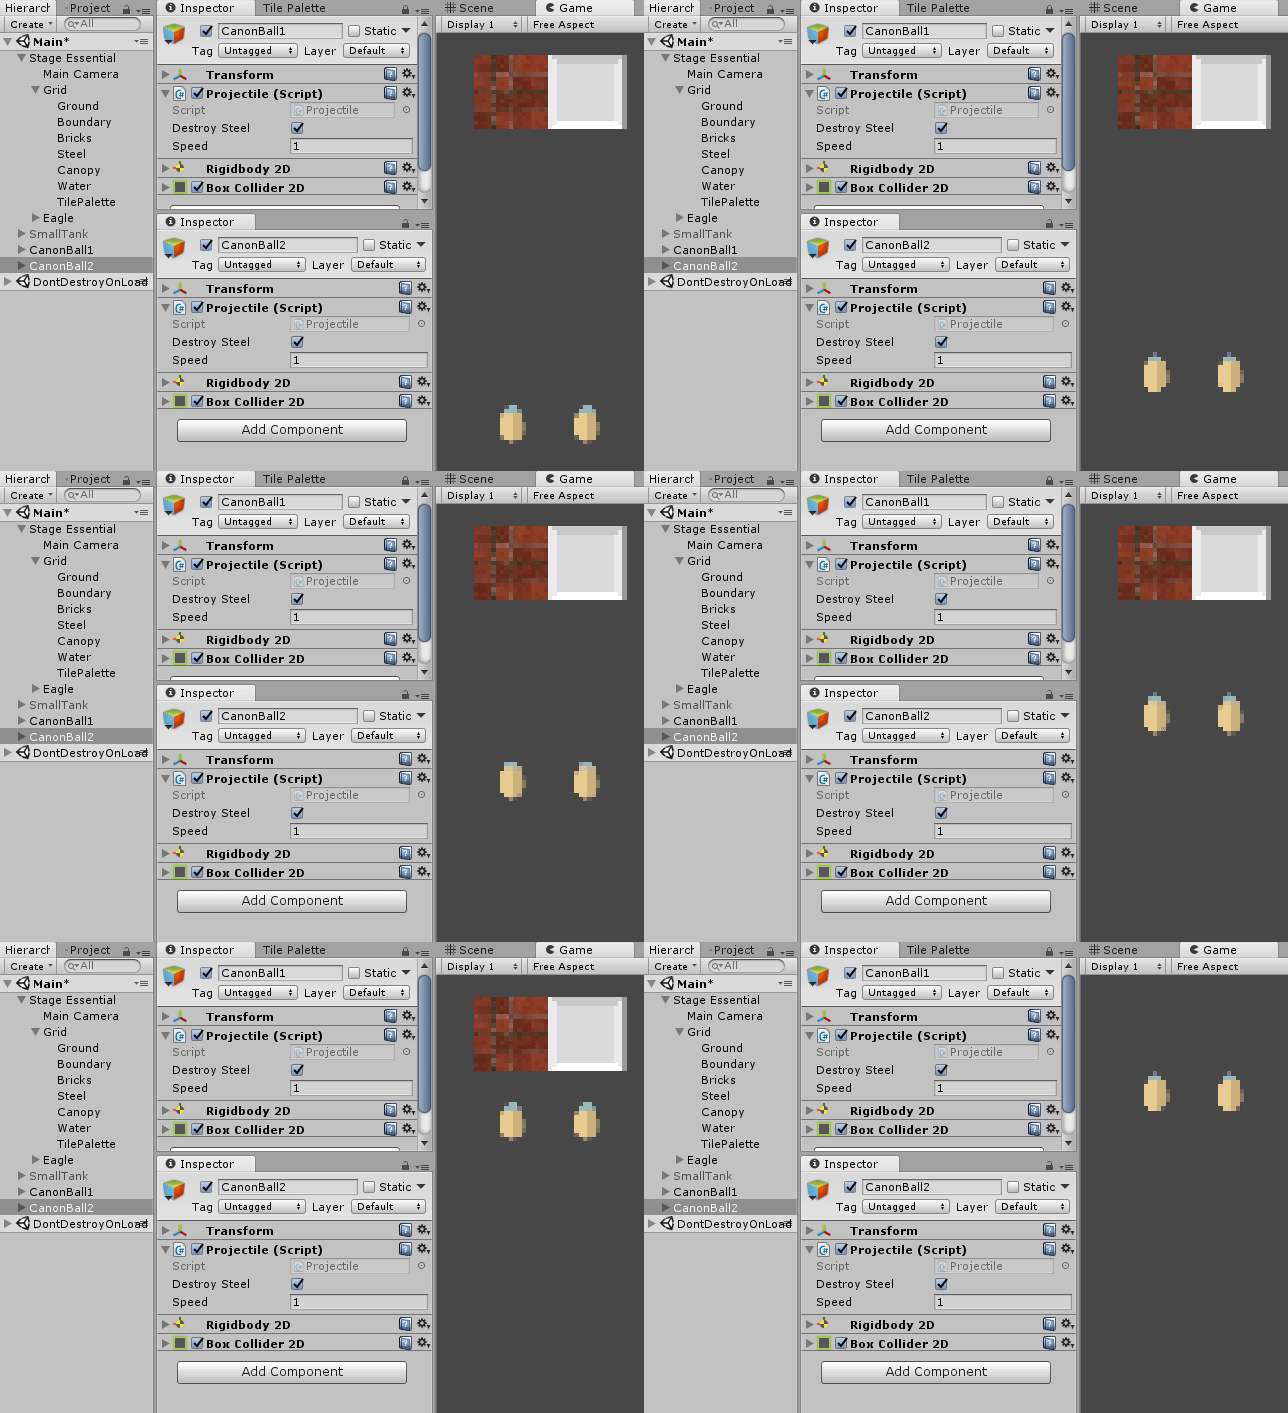
Now let’s set destroySteel to true. You will see both the brick and steel wall get wiped out! So who is having the last laugh now? Ha ha ha!
Progamming the Canonball: Destroy itself
The last part of this post is to destroy the CanonBall itself. All this while, we are seeing the CanonBall obliterating things in its path and merely stop if it hits something it cannot kill. We are not creating some indestructible armament here, so we will need to destroy the CanonBall upon contact.
Well, nearly. Instead what we are going to do is to disable the CanonBall upon collision. We will only disable it so that it can be recycled for use again for the next shot by the tank.
Recycling the CanonBall for usage is also adding to the challenge of this game as it will mean every tank can only fire a single shot at one time.
Of course, the CanonBall still need to be destroyed(when its tank get destroyed so there is no chance it will get recycled again) but we can reduce the number of Game Objects destroyed significantly.
The first part to destroy the CanonBall is straightforward. Just the below code at the end of the OnCollisionEnter2D Monobehaviour routine. The routine will only set the Game Object to inactive.
this.gameObject.SetActive(false);The next part is how to recycle the CanonBall. Since what we are doing is to disable it, so to reuse it is by enabling it. The enabling back will be done by the Tank which will be firing the shot so what the Projectile Script needs to take care is how the CanonBall should behave when enabled again.
To achieve that, we can use the Monobehaviour Routine
void OnEnable()
{
    rb2d.velocity = transform.up * speed;
}
The last part will be when to destroy the CanonBall. We will need to destroy the CanonBall when its tank got destroyed. We will create a Public Routine called
public void DestroyProjectile()
{
    Destroy(this.gameObject);
}
But wait, there’s more. What if a CanonBall is flying halfway and its tank got destroyed? We cannot disintegrate a CanonBall halfway in its flight just because its tank got destroyed. Let’s be fair to the canonball!
To overcome it, let’s use a boolean flag I’m naming
In the Monobehaviour routine
bool toBeDestroyed = false;

void OnDisable()
{
    if (toBeDestroyed)
    {
        Destroy(this.gameObject);
    }
}


public void DestroyProjectile()
{
    if (gameObject.activeSelf == false)
    {
        Destroy(this.gameObject);
    }
    toBeDestroyed = true;
}
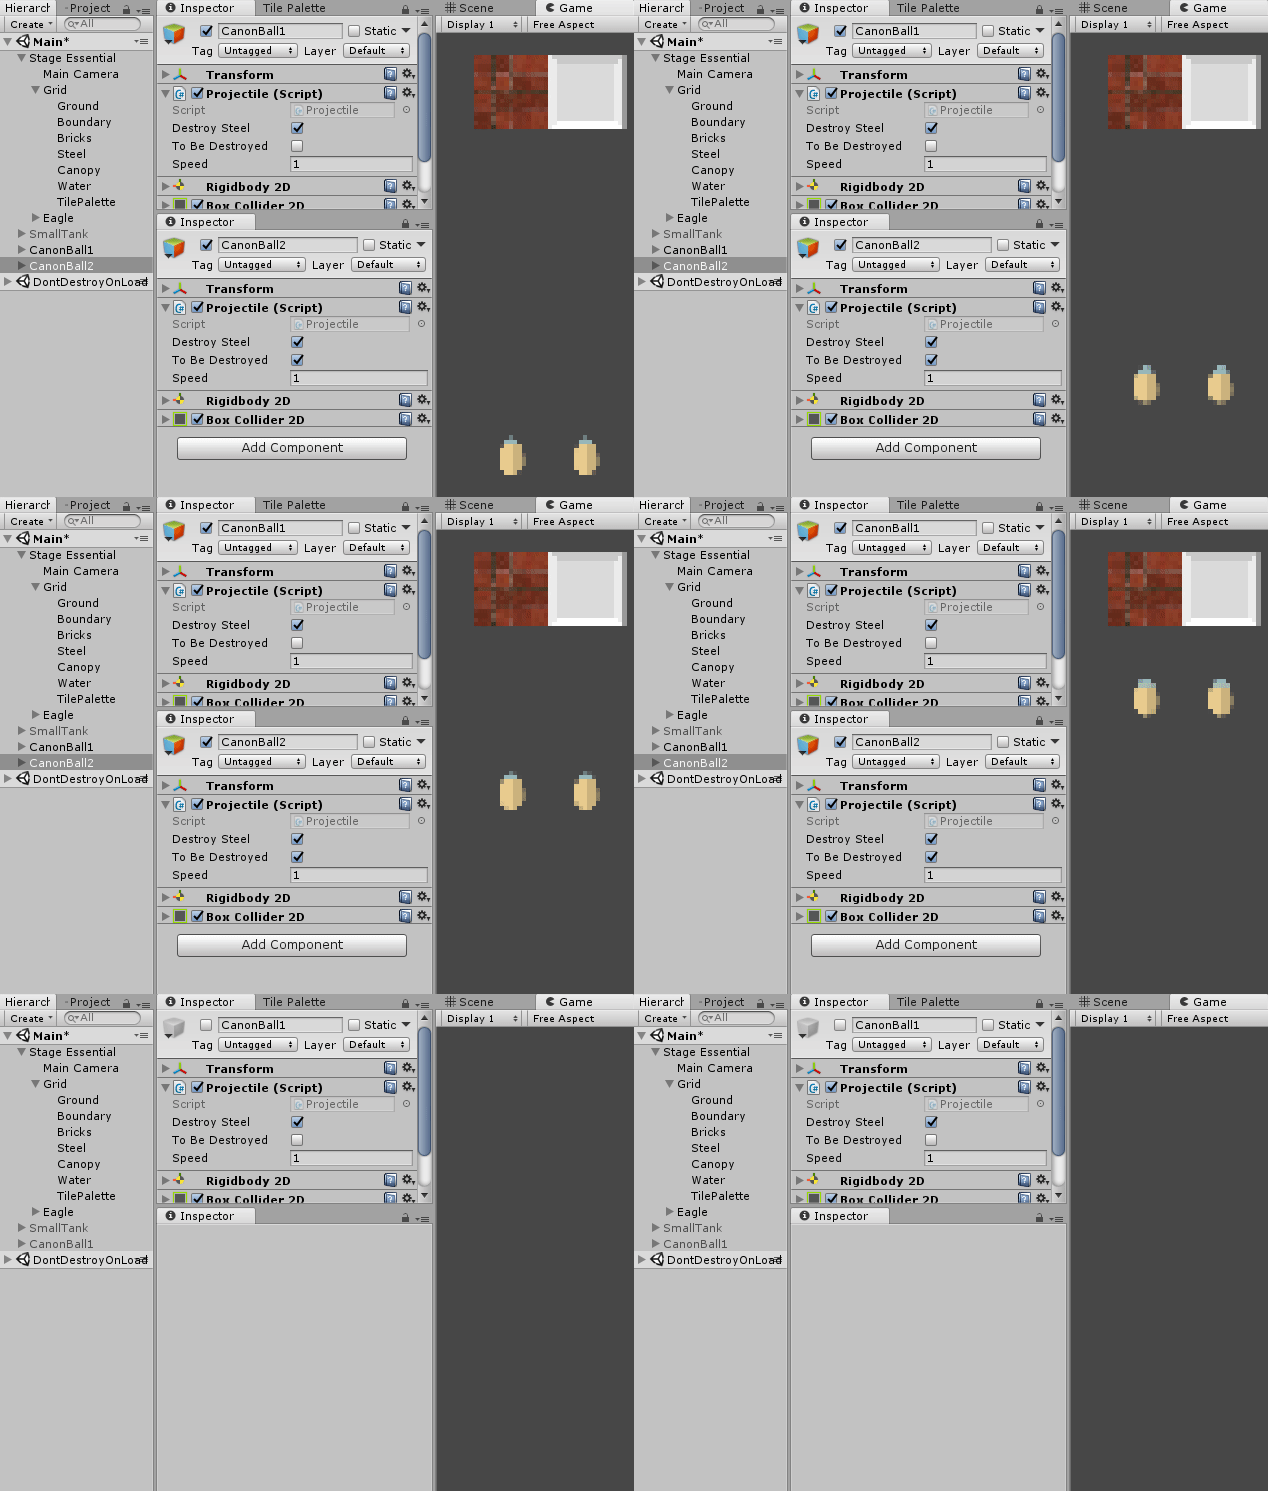
Now let’s test our mini-Banzai Bill again! I deliberately expose the toBeDestroyed flag, so we can see the effect of setting it. You can see that CanonBall1 which has its toBeDestroyed unchecked will be disabled, but CanonBall2 whose toBeDestroyed flag is true gets destroyed.
private void OnEnable()
{
    if (rb2d != null)
    {
        rb2d.velocity = transform.up * speed;
    }
}
Conclusion and Full Code
Phew! Finally, reach the end of this post. We are not done with CanonBall yet. We have yet to touch on destroying the tanks. I will leave that to the next post as it involves touching on both the Tank Game Object and CanonBall Game Object. Here’s the full code for Projectile up till now.
using UnityEngine;
using UnityEngine.Tilemaps;

public class Projectile : MonoBehaviour {
    public bool destroySteel = false;
    [SerializeField]
    bool toBeDestroyed = false;
    GameObject brickGameObject,steelGameObject;
    Tilemap tilemap;
    public int speed = 1;
    Rigidbody2D rb2d;
	void Start () {
        rb2d = GetComponent<Rigidbody2D>();
        rb2d.velocity = transform.up * speed;
        brickGameObject = GameObject.FindGameObjectWithTag("Brick");
        steelGameObject = GameObject.FindGameObjectWithTag("Steel");
    }
    private void OnEnable()
    {
        if (rb2d != null)
        {
            rb2d.velocity = transform.up * speed;
        }
    }
    private void OnCollisionEnter2D(Collision2D collision)
    {
        rb2d.velocity = Vector2.zero;
        tilemap = collision.gameObject.GetComponent<Tilemap>();
        if ((collision.gameObject == brickGameObject) || (destroySteel && collision.gameObject == steelGameObject))
        {
            Vector3 hitPosition = Vector3.zero;
            foreach (ContactPoint2D hit in collision.contacts)
            {
                hitPosition.x = hit.point.x - 0.01f * hit.normal.x;
                hitPosition.y = hit.point.y - 0.01f * hit.normal.y;
                tilemap.SetTile(tilemap.WorldToCell(hitPosition), null);
            }
        }
        //keep the projectile inactive if hit anything. this will allow the projectile to be reused instead of wasting resource for garbage collector to clear it from memory
        this.gameObject.SetActive(false);
    }
    private void OnDisable()
    {
        if (toBeDestroyed)
        {
            Destroy(this.gameObject);
        }
    }
    //function called from Tank to destroy the projectile when the tank is destroyed
    public void DestroyProjectile()
    {
        //if the projectile is already inactive, destroy the projectile gameobject
        if (gameObject.activeSelf == false)
        {
            Destroy(this.gameObject);
        }
        //set flag toBeDestroyed so that if projectile is still active checking the flag toBeDestroyed during onDisable to destroy the projectile
        toBeDestroyed = true;
    }
}
This article is Part 7 in a 25-Part Series.
- Introduction - Battle City in Unity Prequel
- Part 1 - Battle City in Unity Part l: Single(ton) Sole Survivor
- Part 2 - Battle City in Unity Part 2: Level Creation using Tilemaps
- Part 3 - Battle City in Unity Part 3: Creation of the Protagonist and Antagonists(Tanks)
- Part 4 - Battle City in Unity Part 4: Tank Movement
- Part 5 - Battle City in Unity Part 5: Player Controller
- Part 6 - Battle City in Unity Part 6: Enemy AI
- Part 7 - This Article
- Part 8 - Battle City in Unity Part 8: Hurting the tanks
- Part 9 - Battle City in Unity Part 9: Firing the shots
- Part 10 - Battle City in Unity Part 10: The Spawn
- Part 11 - Battle City in Unity Part 11 : The Gamemaker - Starting the Stage and Game Over
- Part 12 - Battle City in Unity Part 12 : Level Manager
- Part 13 - Battle City in Unity Part 13 : The Gamemaker - Spawning
- Part 14 - Battle City in Unity Part 14 : The Gamemaker - Stage Cleared or Game Over
- Part 15 - Battle City in Unity Part 15 : Spawning Invincibility
- Part 16 - Battle City in Unity Part 16 : Exploding Tank animation
- Part 17 - Battle City in Unity Part 17 : Score Calculation
- Part 18 - Battle City in Unity Part 18 : Battle Status Board
- Part 19 - Battle City in Unity Part 19 : Bonus Crates - Generation
- Part 20 - Battle City in Unity Part 20 : Bonus Crates - Tank Extra Live
- Part 21 - Battle City in Unity Part 21 : Bonus Crates - Tank Invincibility
- Part 22 - Battle City in Unity Part 22 : Bonus Crates - Grenade
- Part 23 - Battle City in Unity Part 23 : Bonus Crates - Stopwatch
- Part 24 - Battle City in Unity Part 24 : Bonus Crates - Level Up
- Part 25 - Battle City in Unity Part 25 : Bonus Crates - Shovel

