How to setup Parse Server in Heroku
Parse is a Mobile Backend as a service platform which have been open sourced in 2016. This open sourced platform allows developers to link their mobile or web apps easily interact with backend storage so that they can do generic stuffs which are essential to the mobile apps nowadays such as user management and data storage on the go. These are done via APIs which tremendously shorten the development process as developers do not need to code stuff like how to authentiate users, how to store data as these are all taken care by the platform and all developers need to do is to pass the information to Parse to handle it. To begin, you will need to have a server to have the Parse services running, you could create your own server but there will the hassle of getting it shared on to the Web and taking care of securing it, so I definitely recommend to use one of the cloud server providers as they will help to take care of getting your servers shared on the web and securing it. Not to mention that these are free if your usage is not that high which in most cases should be unless you are going to create a huge app. There are multiple service providers for Parse which the more popular ones are Microsoft Azure, AWS(Amazon Web Services) and Heroku. Today I am going to demonstrate how to setup the Parse Server on Heroku which in my opinion is easier than the rest.
Sign Up to Heroku
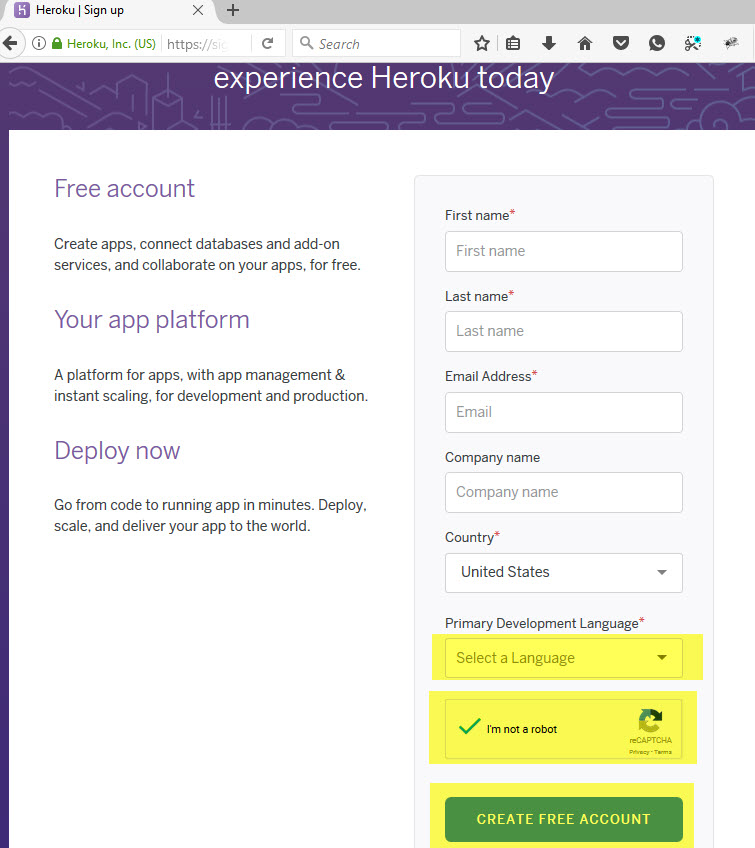
In order to use Heroku as your cloud services provider you will need to sign up to them using this link. Click on SIGN UP FOR FREE to proceed.
Next is the boring task of keying in your information as usual to sign up. There is nothing much to take note here but you might be stumped by the choosing of Primary Development Language. You can choose anything you like for that because it is insignificant for this case as we are only using this as a backed service for data storage and user management. This will only be necessary if you want to code on the server itself. Once done, click on the CAPTCHA checkbox and click CREATE FREE ACCOUNT
You should receive an email in your email address stated in signing up to verification purpose. Click on the verification link provided and it should send you to a webpage to key in your password. Once done, viola you should be logged in to Heroku.
Getting Parse into Heroku
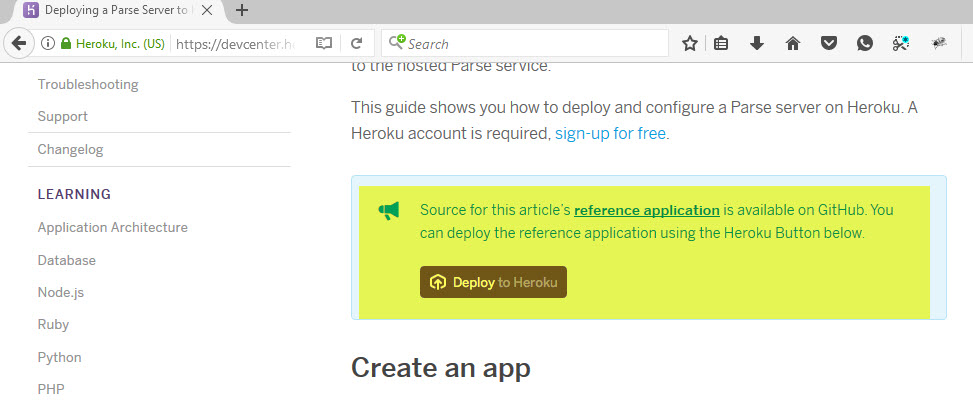
To get Parse installed into Heroku is just the easy step of going to the Heroku developers site for Parse Server and scroll down to the page and click Deploy to Heroku
What this does is to copy all the latest parse platform codes and installer to a Virtual Server in Heroku and deploy it there. Simple!
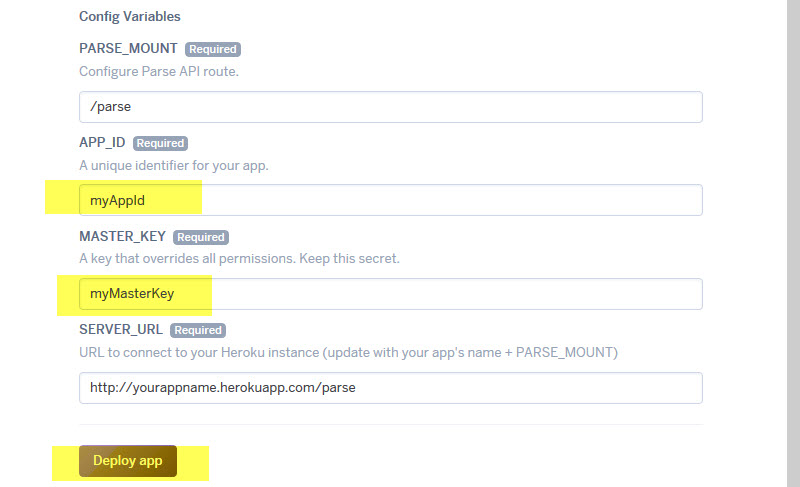
Key in the security details of your Parse Server
This is important as you will require these details to login and use your new parse server. Key in your App name. This is the unique name which is used to identify your Parse Server which will also be used as part of the URL to access from the Web, so you might really need to use a unique name as someone else who are on Heroku might have already used the name you choose. As for region, you can keep it as per default.
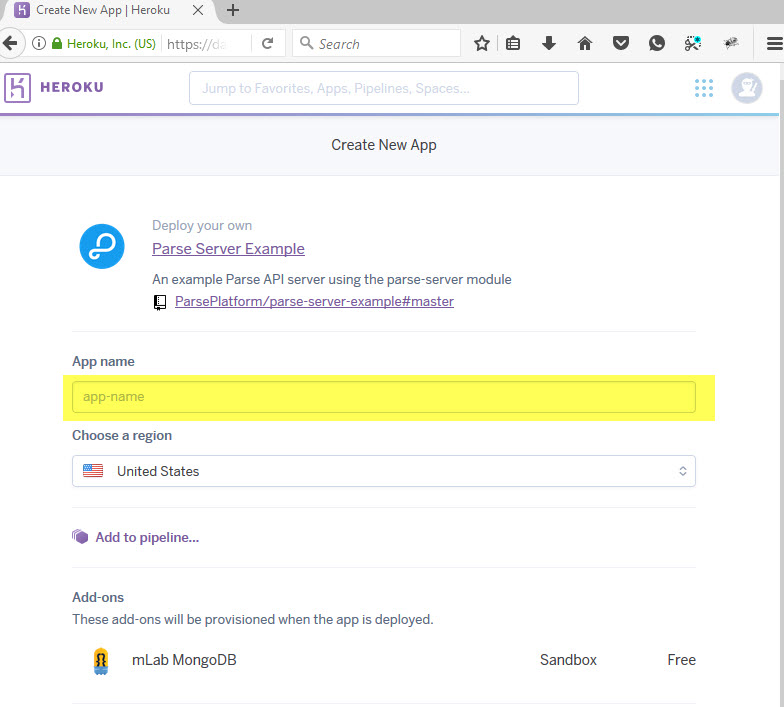
Scroll to the bottom and key in your APP_ID and MASTER_KEY. These are important security information required to connect to the Parse so keep it complicated so that it cannot be hack easily. As for SERVER_URL and PARSE_MOUNT, just leave it default.
Then click Deploy app.
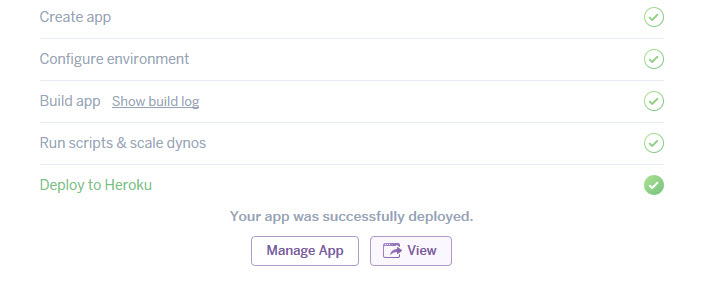
Key in your payment details
I know I mentioned that this is free so why do we need to key in payment details? Well, apparently this is even required if you want to just use the free tier. But rest assured, this is ok as you will not be charged if you kept to your usage limits(it is impossible to burst the limit if you are not building a big app and if you are building a big one you should be earning enough back to pay for the small premium). Moreover if you are charged for anything, Heroku will notify you via email so that you can do necessary adjustments or dispute claims. So key in your credit card information as per what you usually do and click Save Details. Then let Heroku do the magic and after a few minutes, it is done. That’s all you need to create Parse Server in Heroku. Simple!